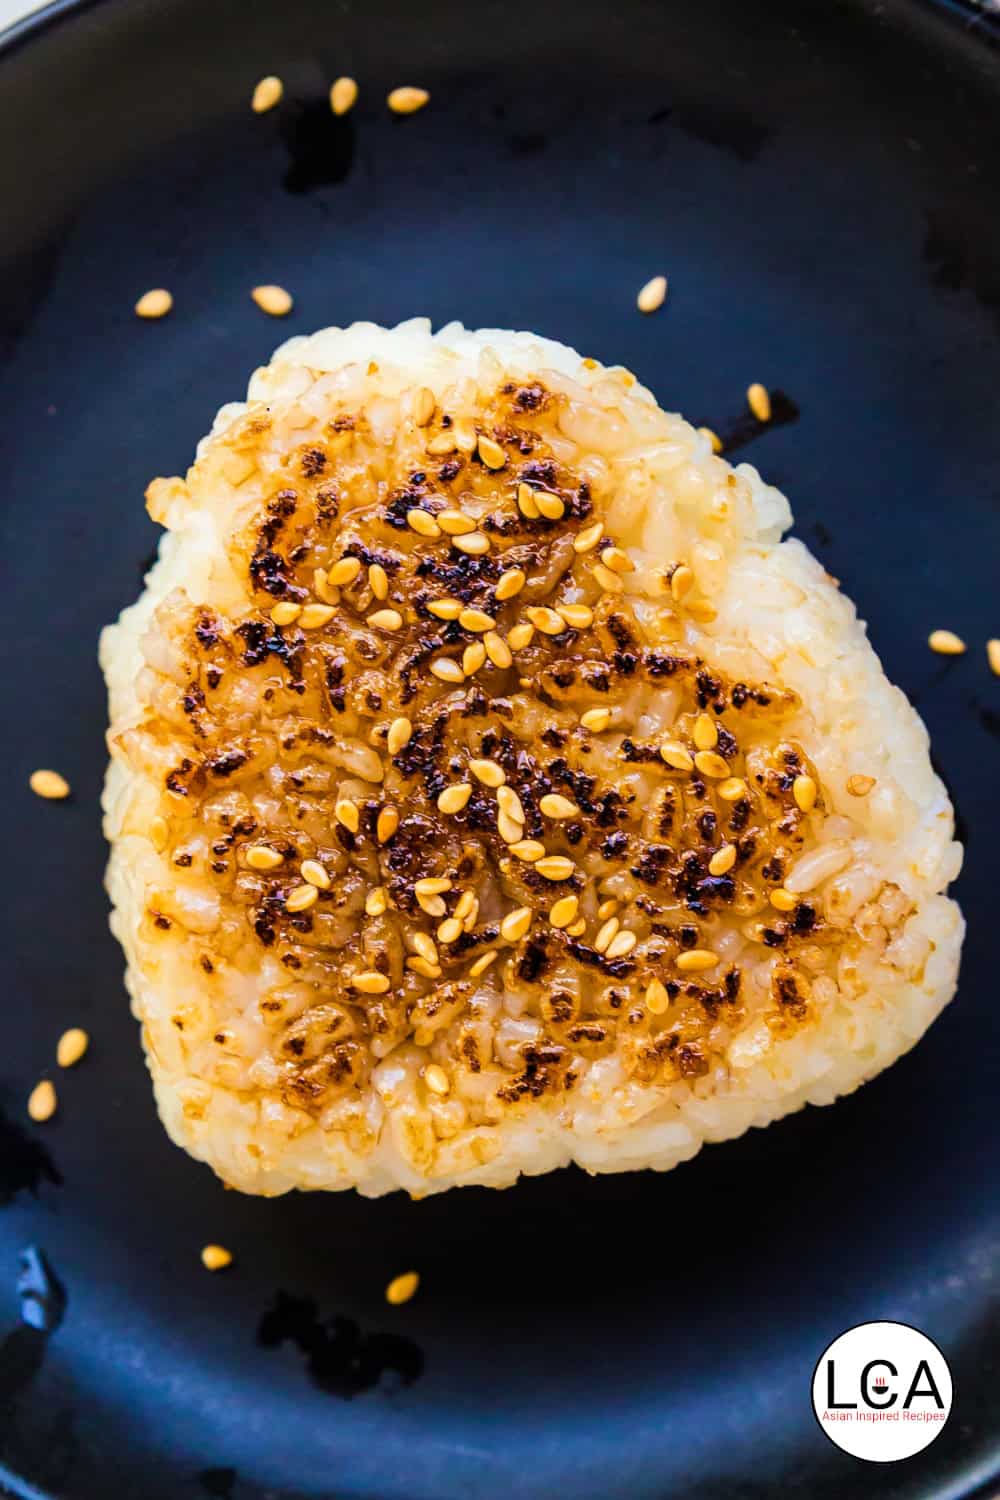
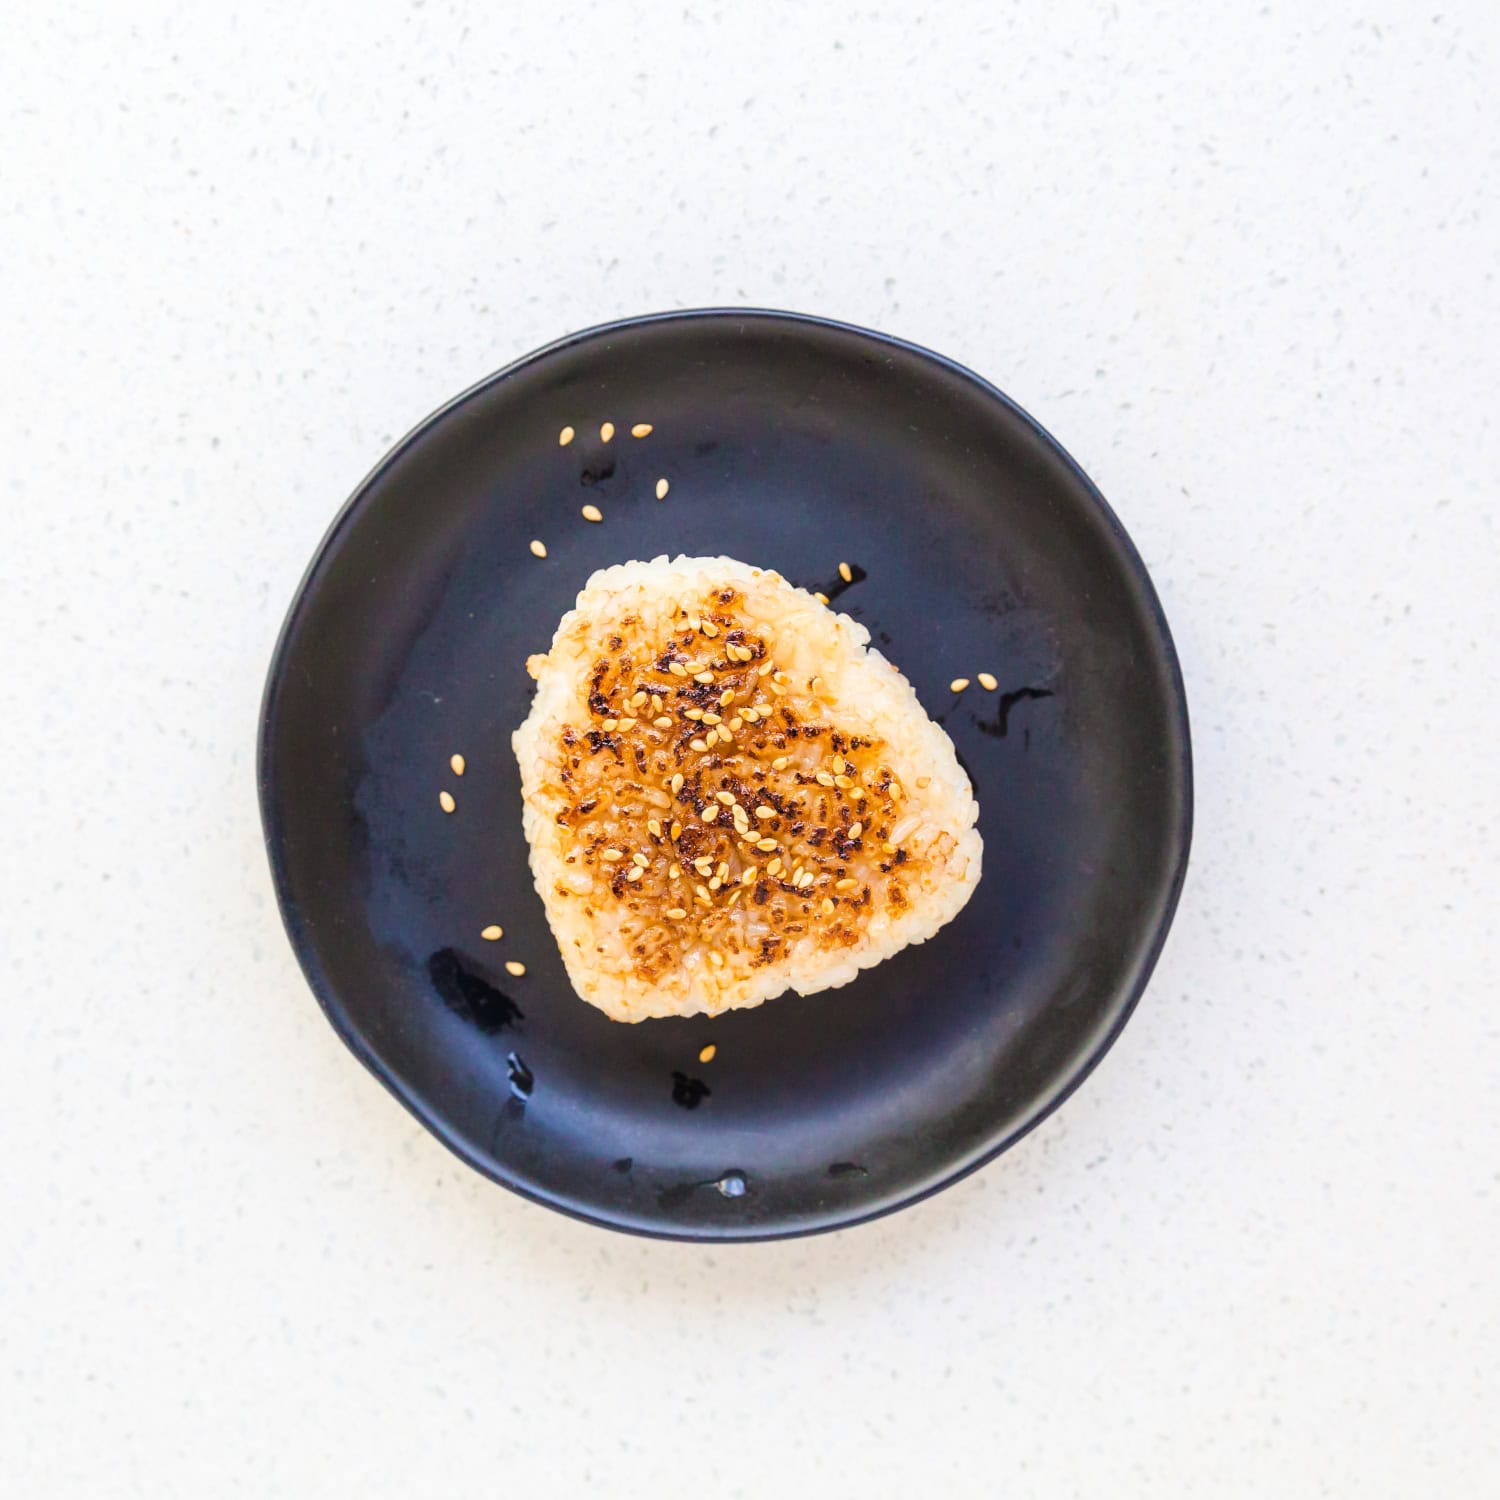
If you’re looking for a quick, tasty, and affordable snack, my Garlic Soy Sauce Rice Balls are just the thing! I crafted this recipe to take the classic Japanese yaki onigiri and give it a boost with a savory garlic soy sauce glaze that crisps up beautifully in the pan. Easy to make and so satisfying, you’ll want to whip these up anytime you need a filling bite between meals!
Why I Love This Recipe
I love this recipe because Garlic Soy Sauce Rice Balls are a classic Japanese snack that always takes me back to my childhood when my mom used to make them for me. I crafted this recipe using my saran wrap method from my Spam Rice Balls so you don’t need any special molds, and I finish them the same way I do my Yaki Onigiri Soy Sauce Rice Ball and Miso Rice Balls, searing until the outside is golden and crisp while the inside stays soft and fluffy.
The flavor is simple yet addictive, with savory garlic and sweetened soy sauce based on my Soy Garlic Sauce that soaks into the charred rice for the perfect bite. This recipe is for anyone looking for an easy, affordable, and filling snack or light meal that makes the most of leftover rice—and trust me, once you try it, you’ll want to make these right away!
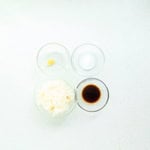
Ingredients
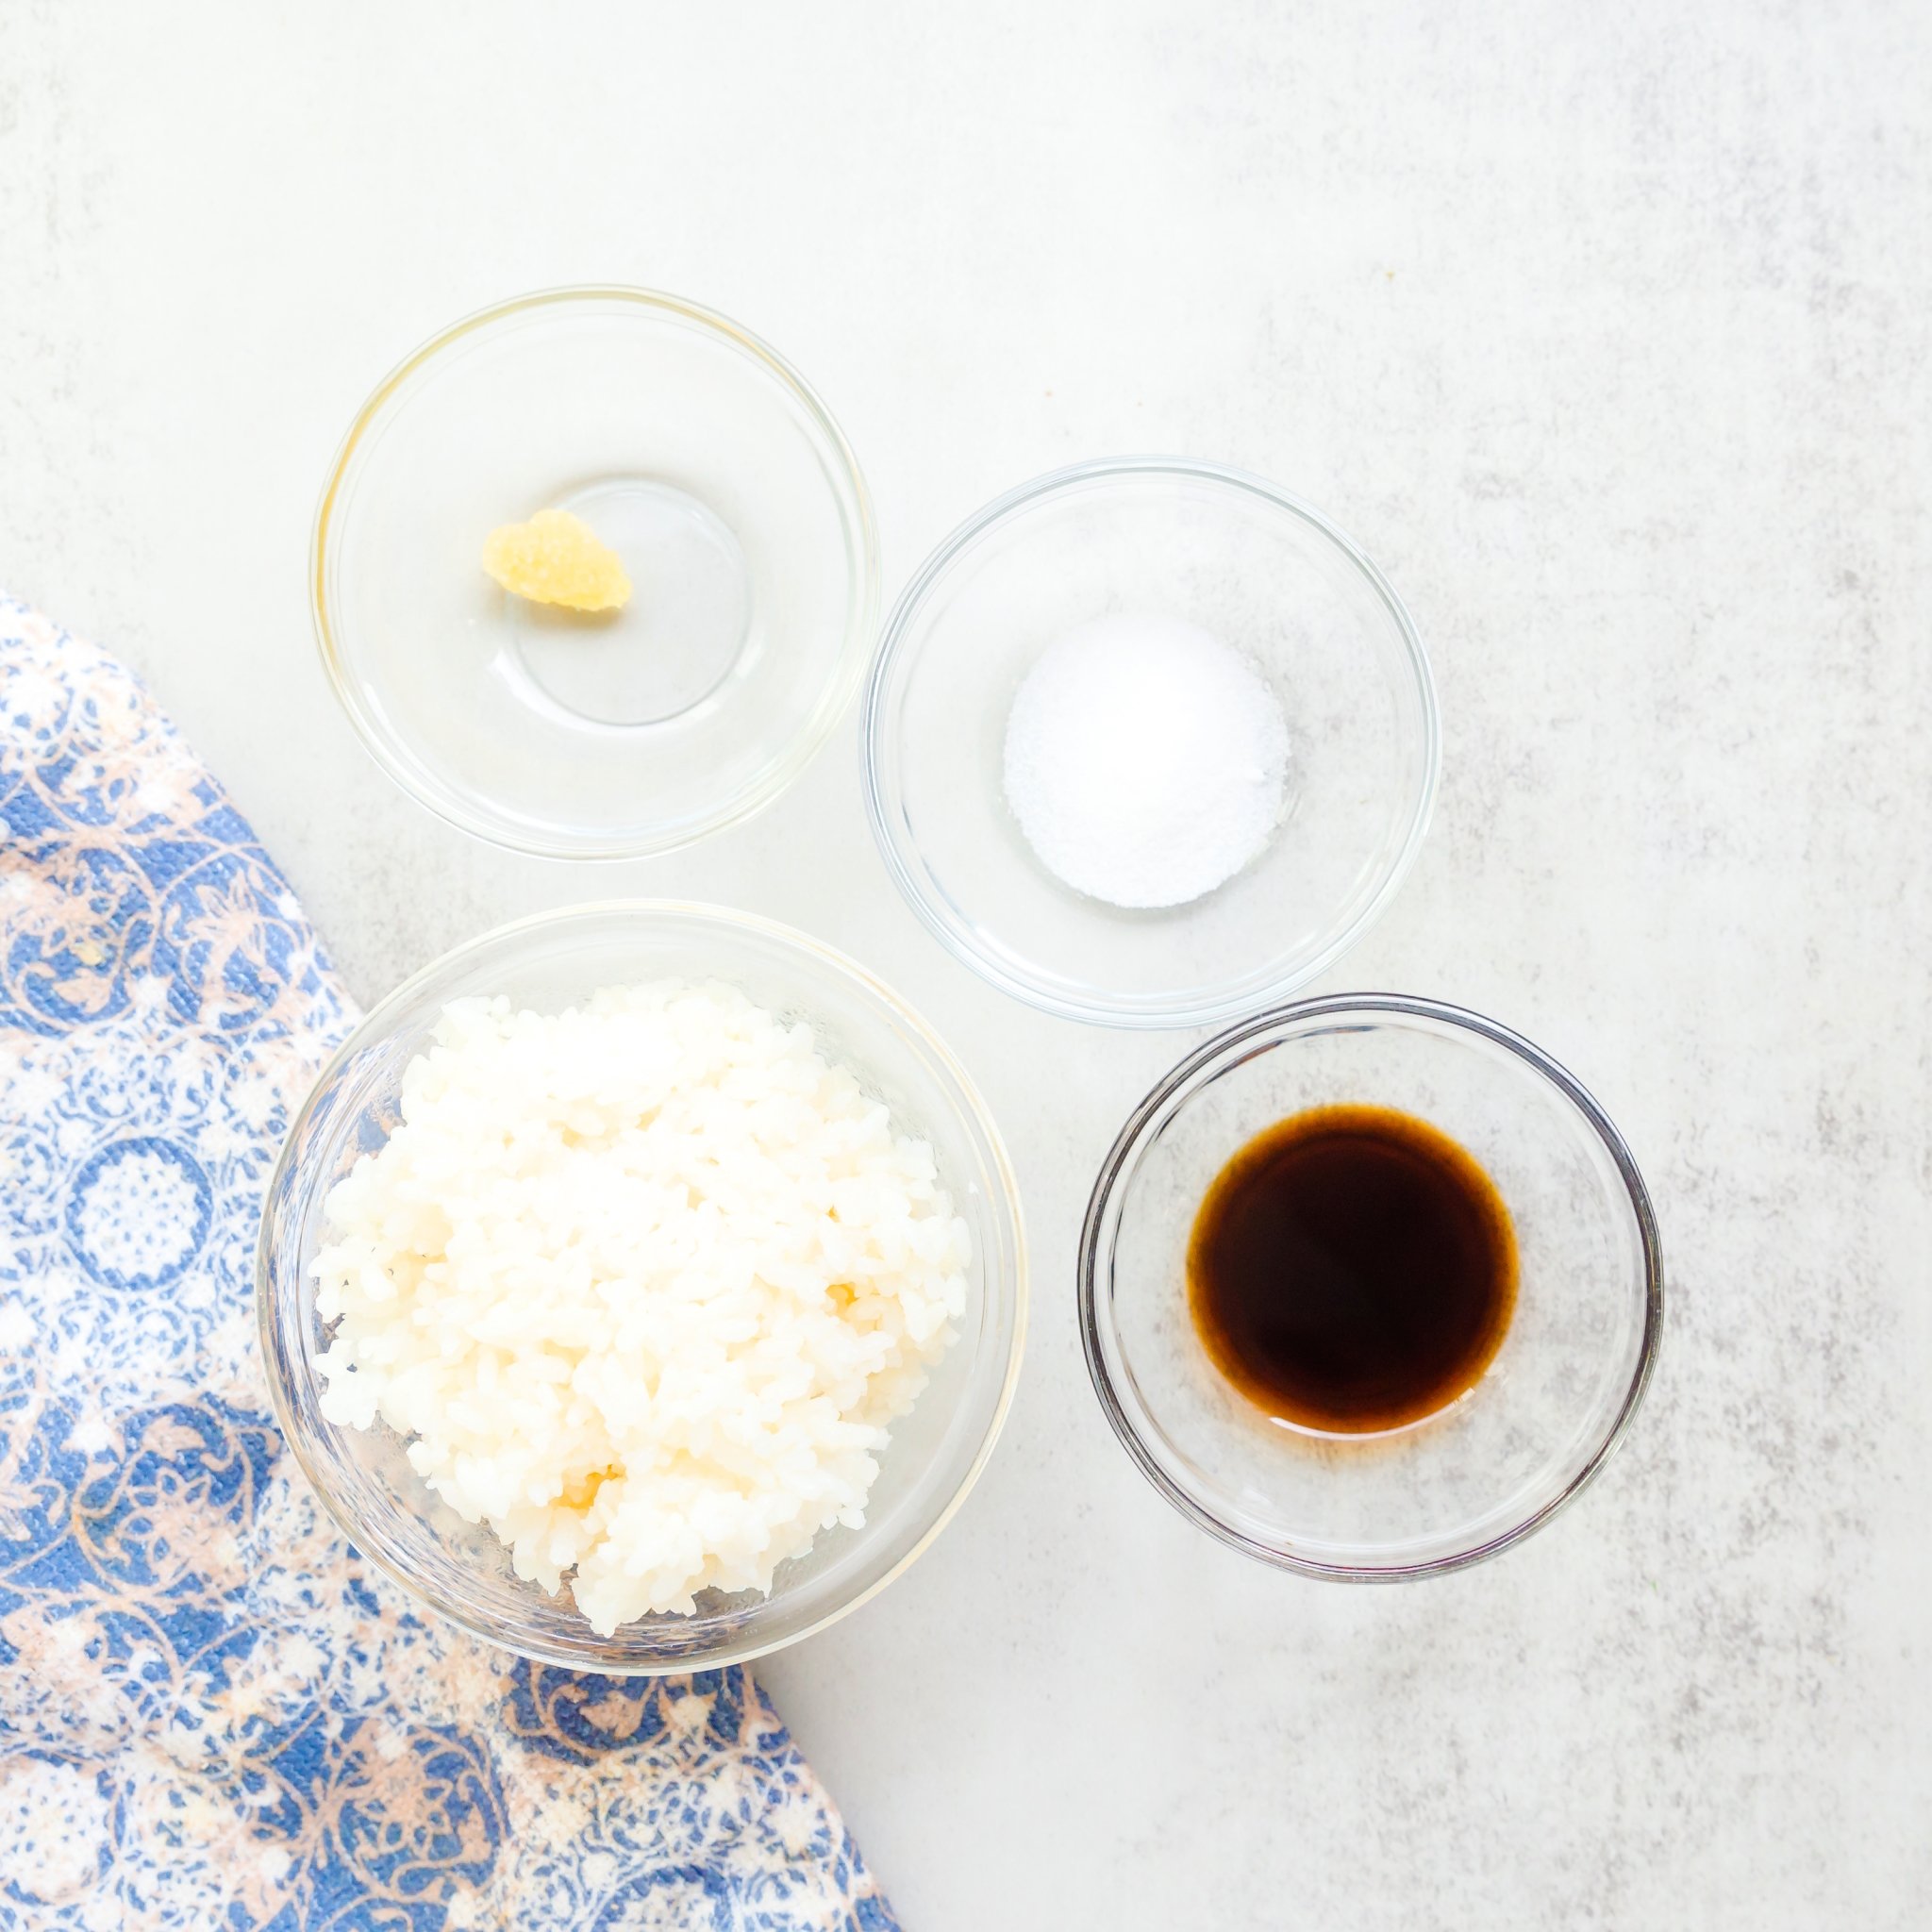
Ingredients
- 2 Cups Rice – I recommend using freshly made steamed white rice.
- 1 tbsp Soy Sauce – low-sodium Soy Sauce preferred. Can also use tamari for gluten-free.
- 1 tbsp Sweetener – use your preferred sweetener.
- 1 Garlic Clove – freshly grated.
- Cooking Spray Oil – spray oil of choice.
🍚 Rice Note
I recommend using Fresh Rice for this recipe as it holds the rice balls better.
Directions
Step 1 In a small bowl, mix the soy sauce, sweetener and grated garlic until combined.

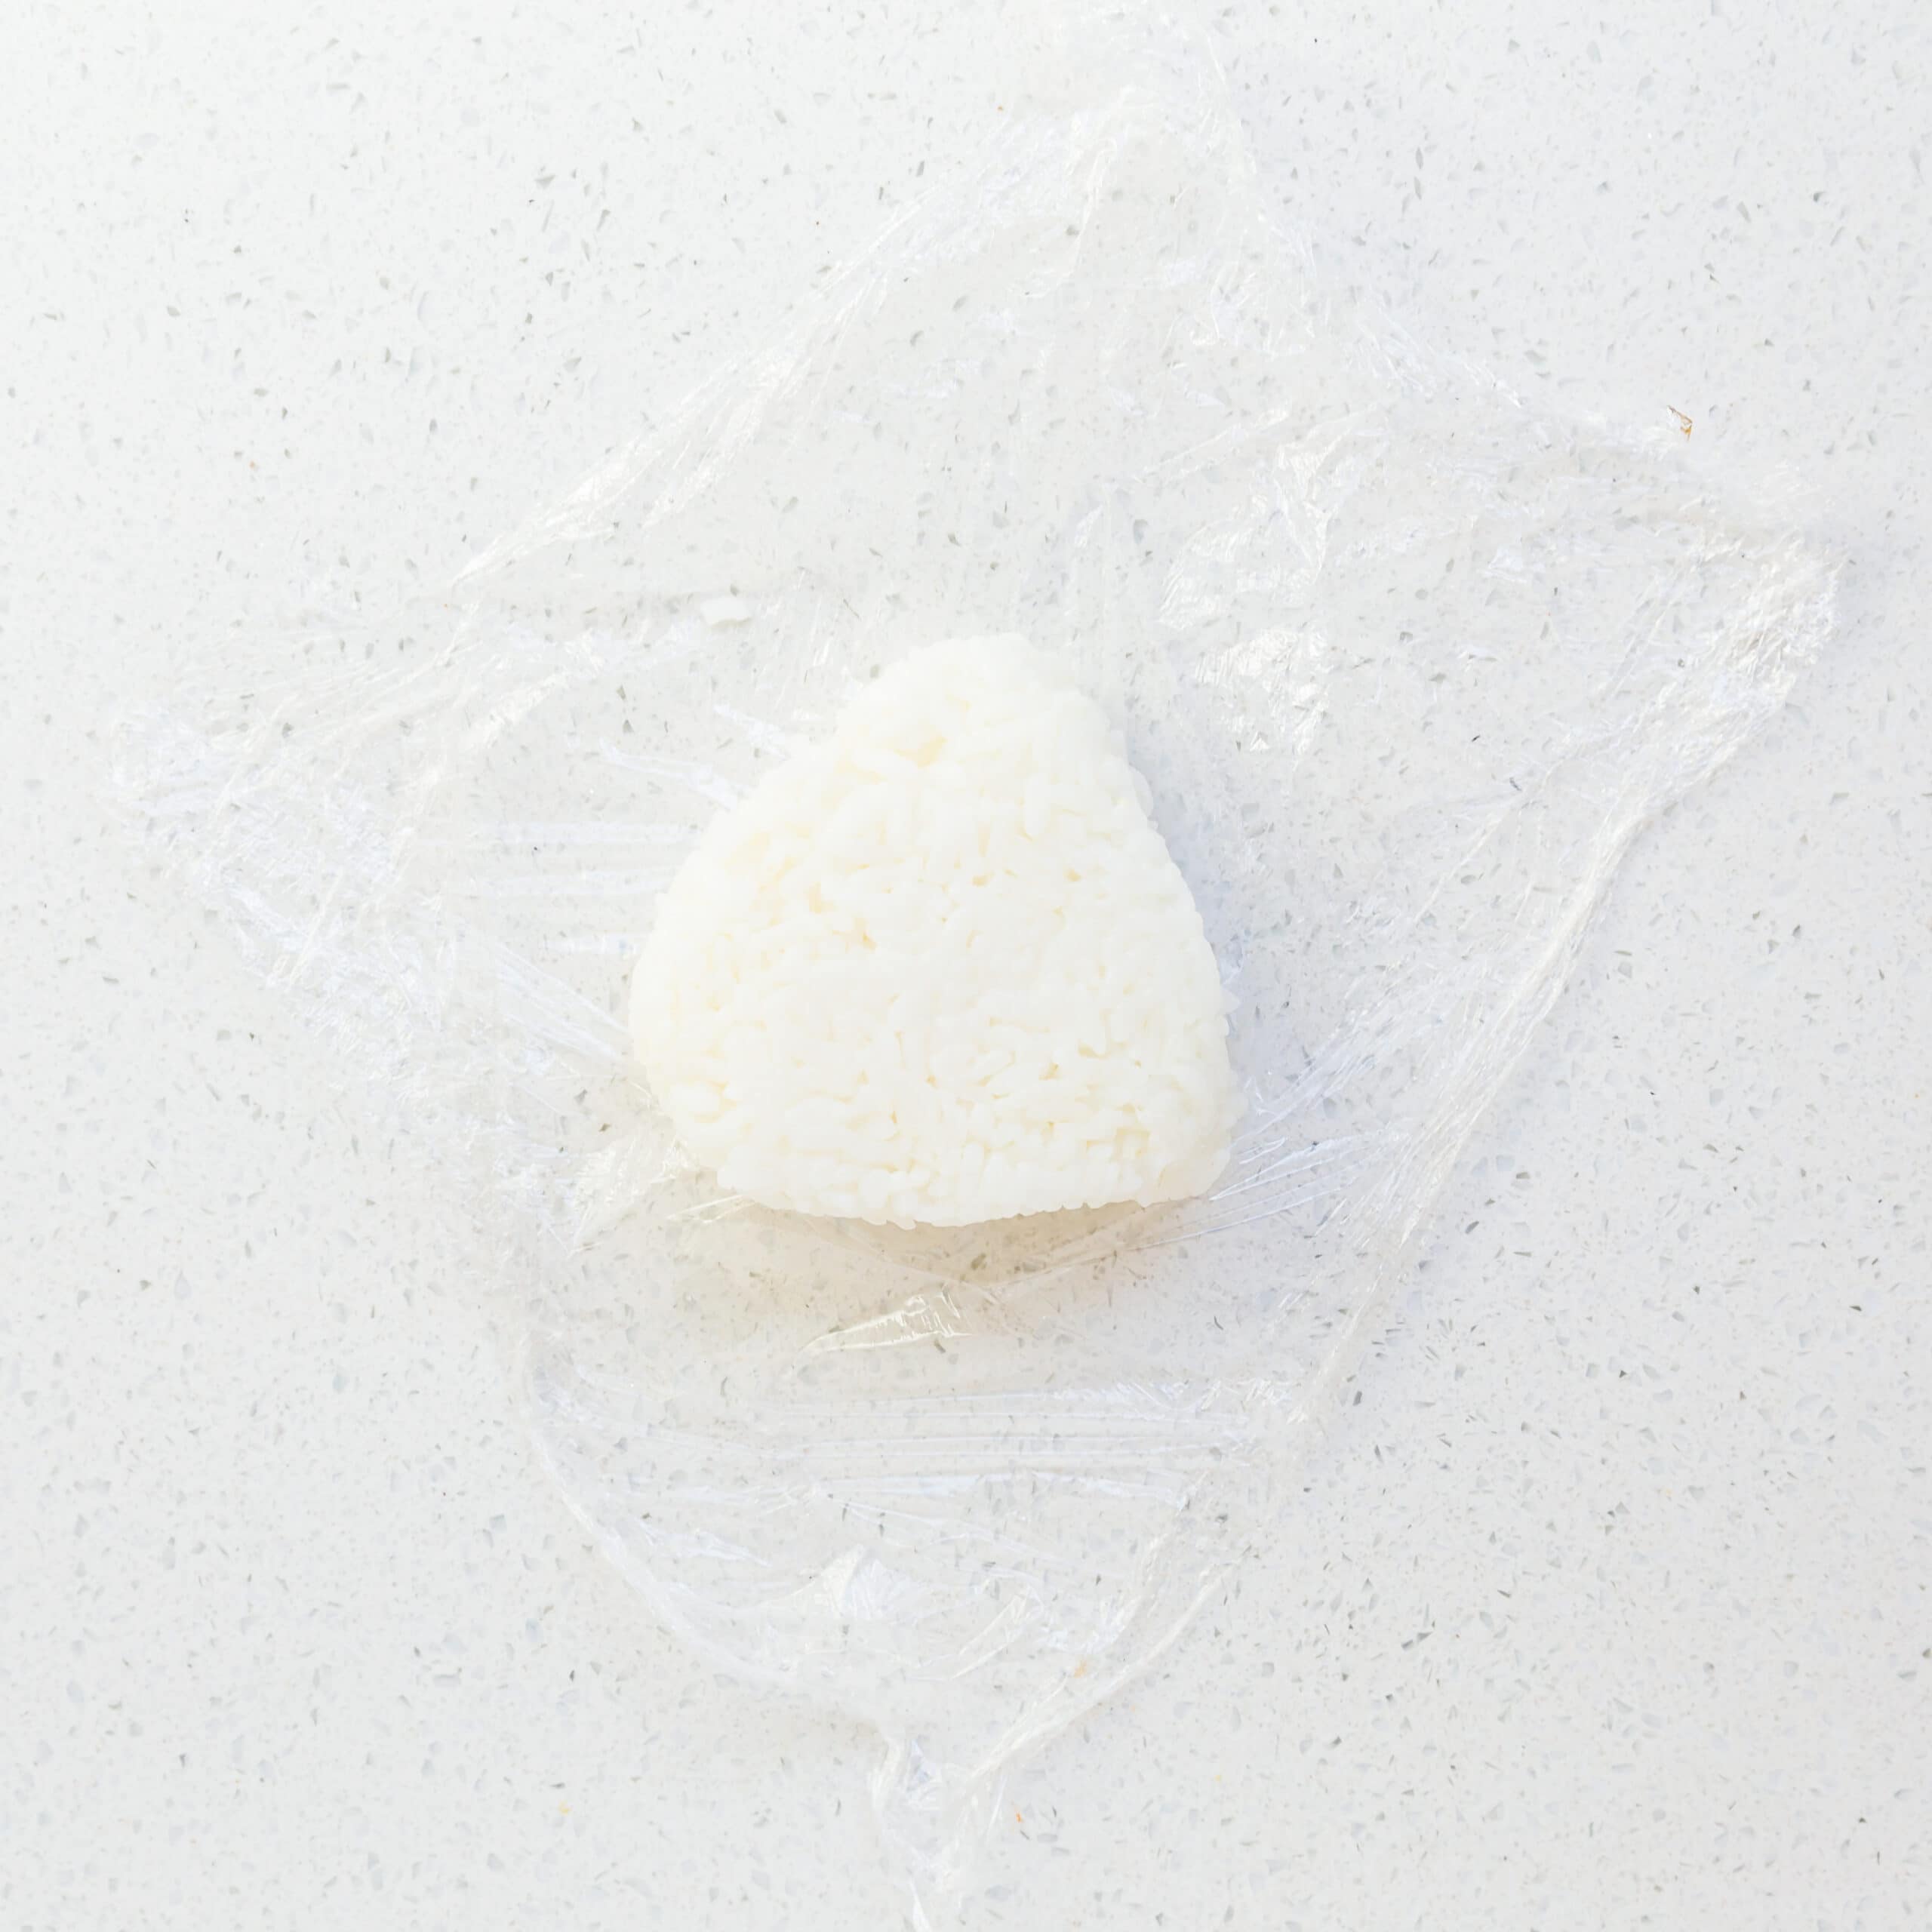
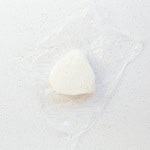
Step 2 Place a sheet of saran wrap on the counter and add 1/2 cup of rice in the center then wrap the plastic around it to form a ball. Press and rotate 5 to 7 times until it holds its shape. You can also use a Rice Ball Mold if you prefer. Remove from the plastic and set aside.
🍚 Rice Ball Pro Tip
To prevent the rice from sticking to your hands while shaping, I recommend Lightly Wetting Your Hands before handling the rice.
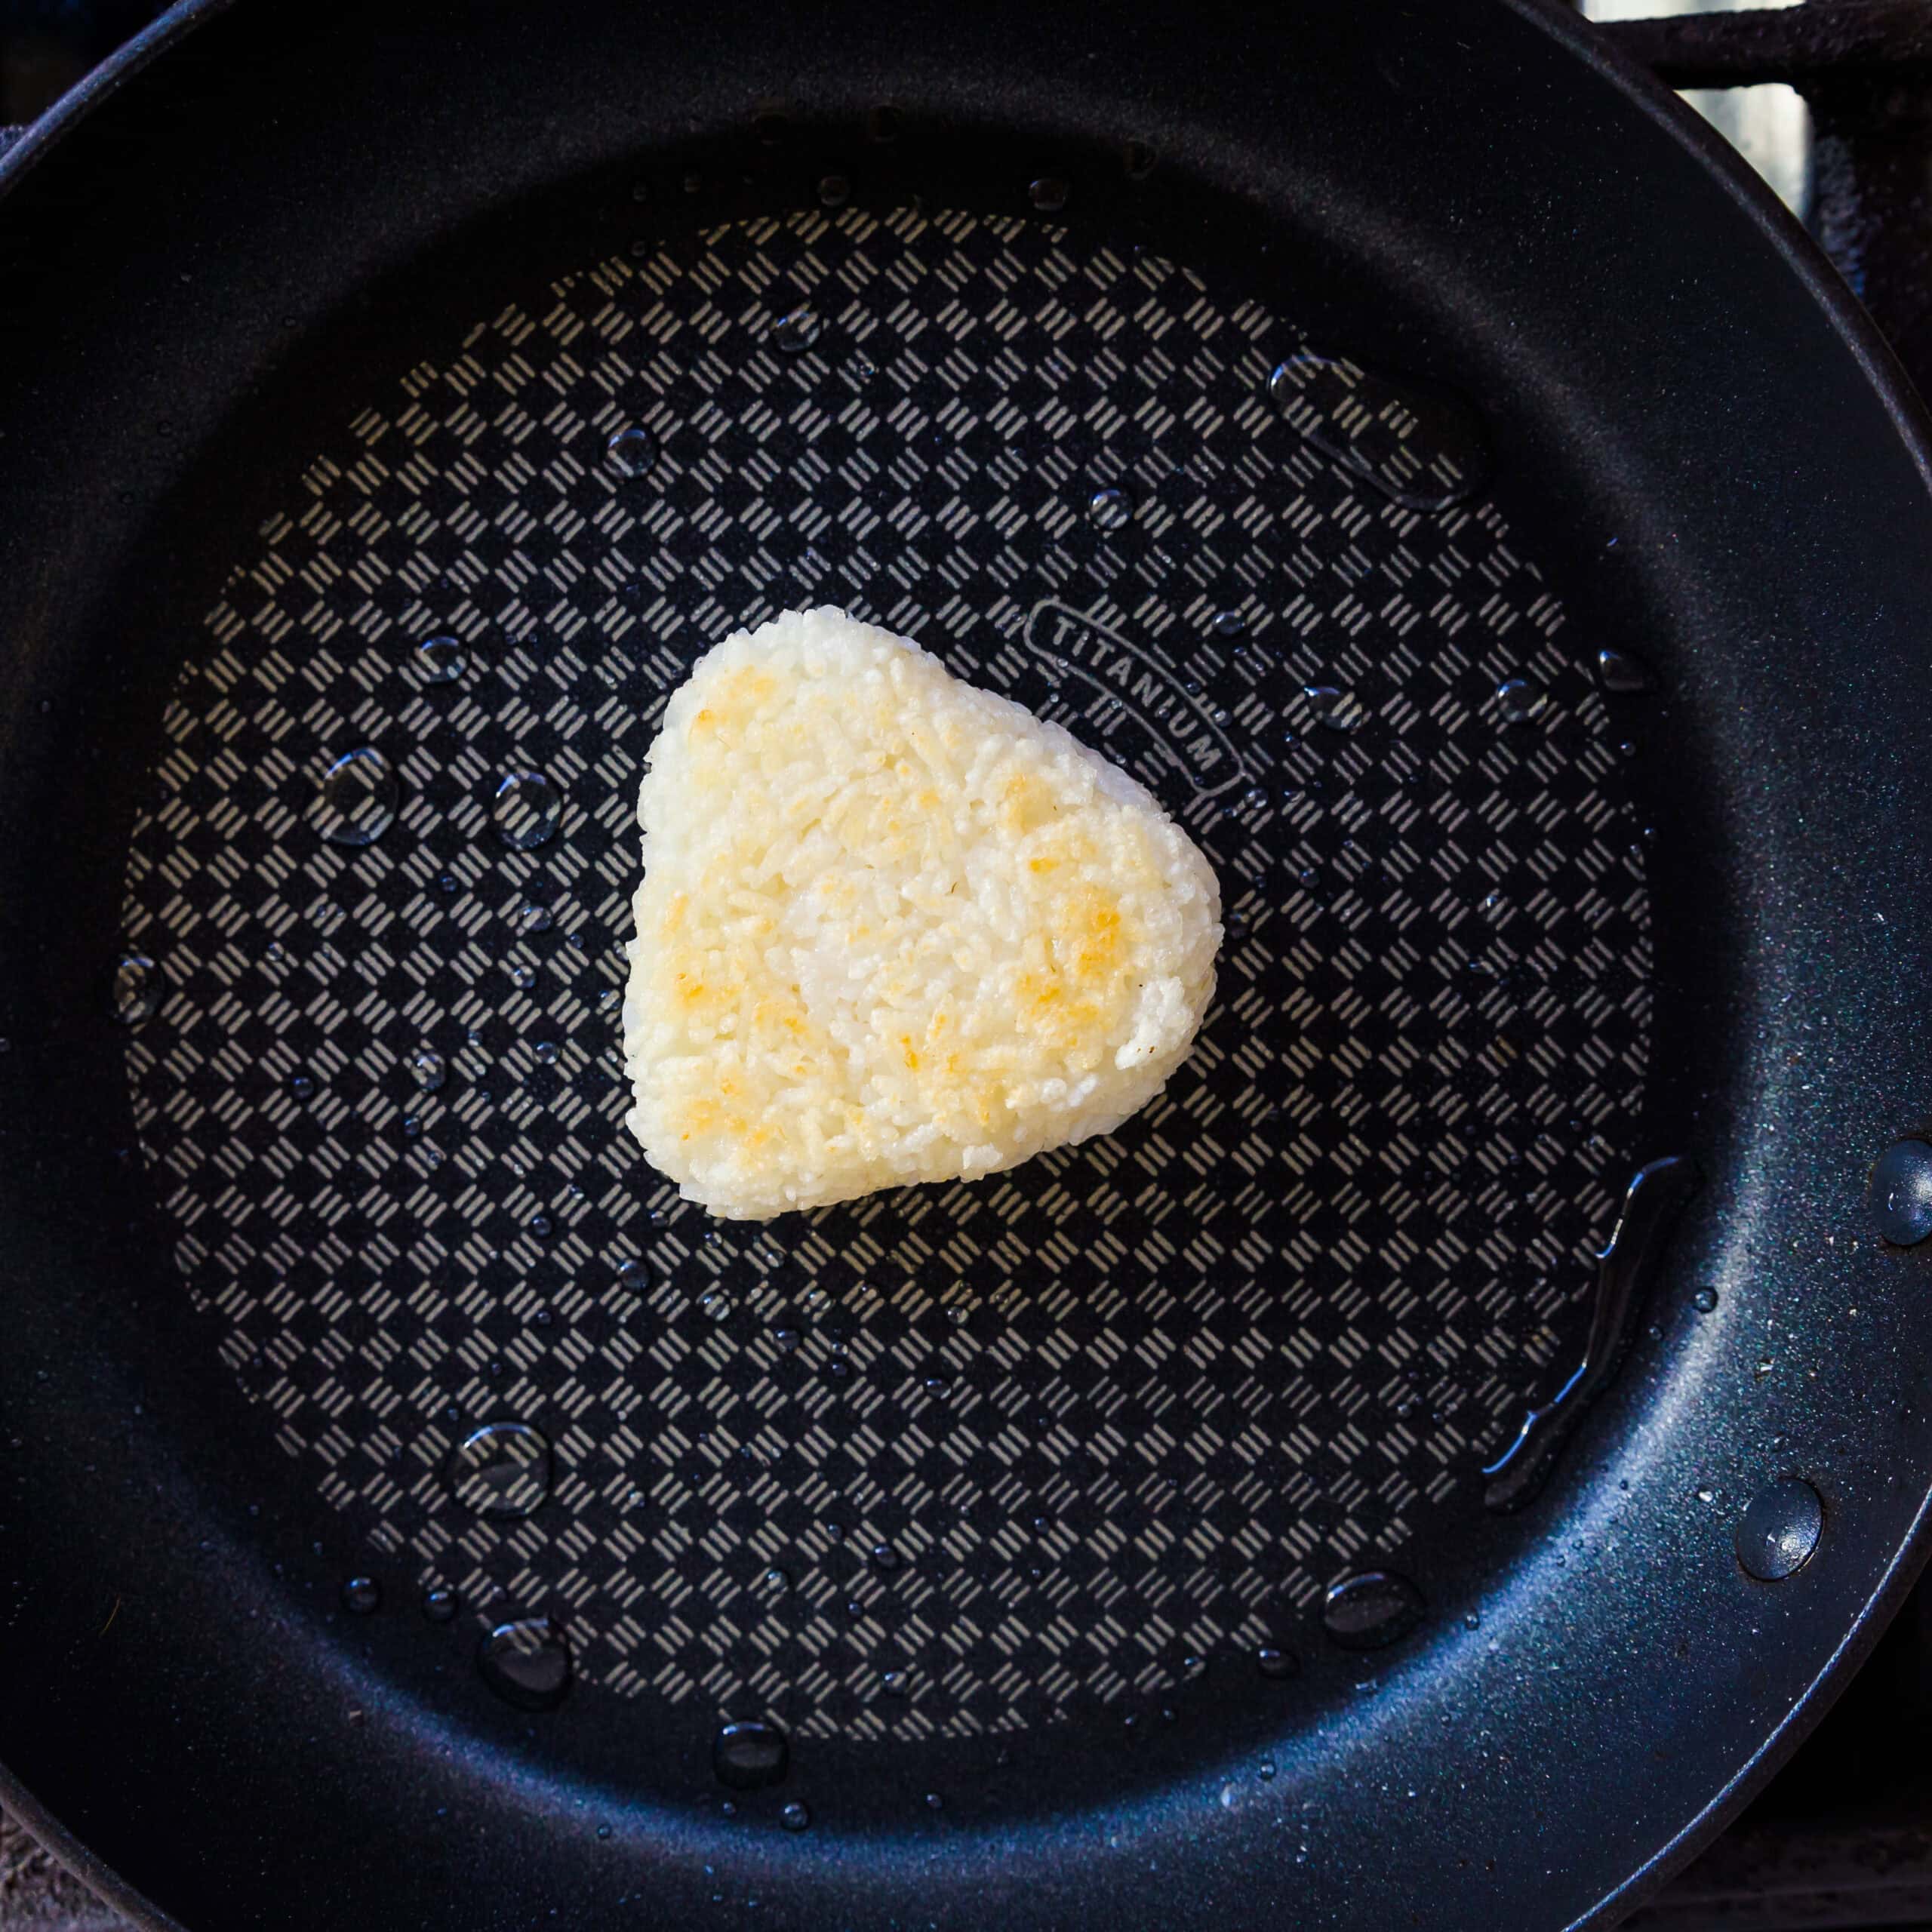
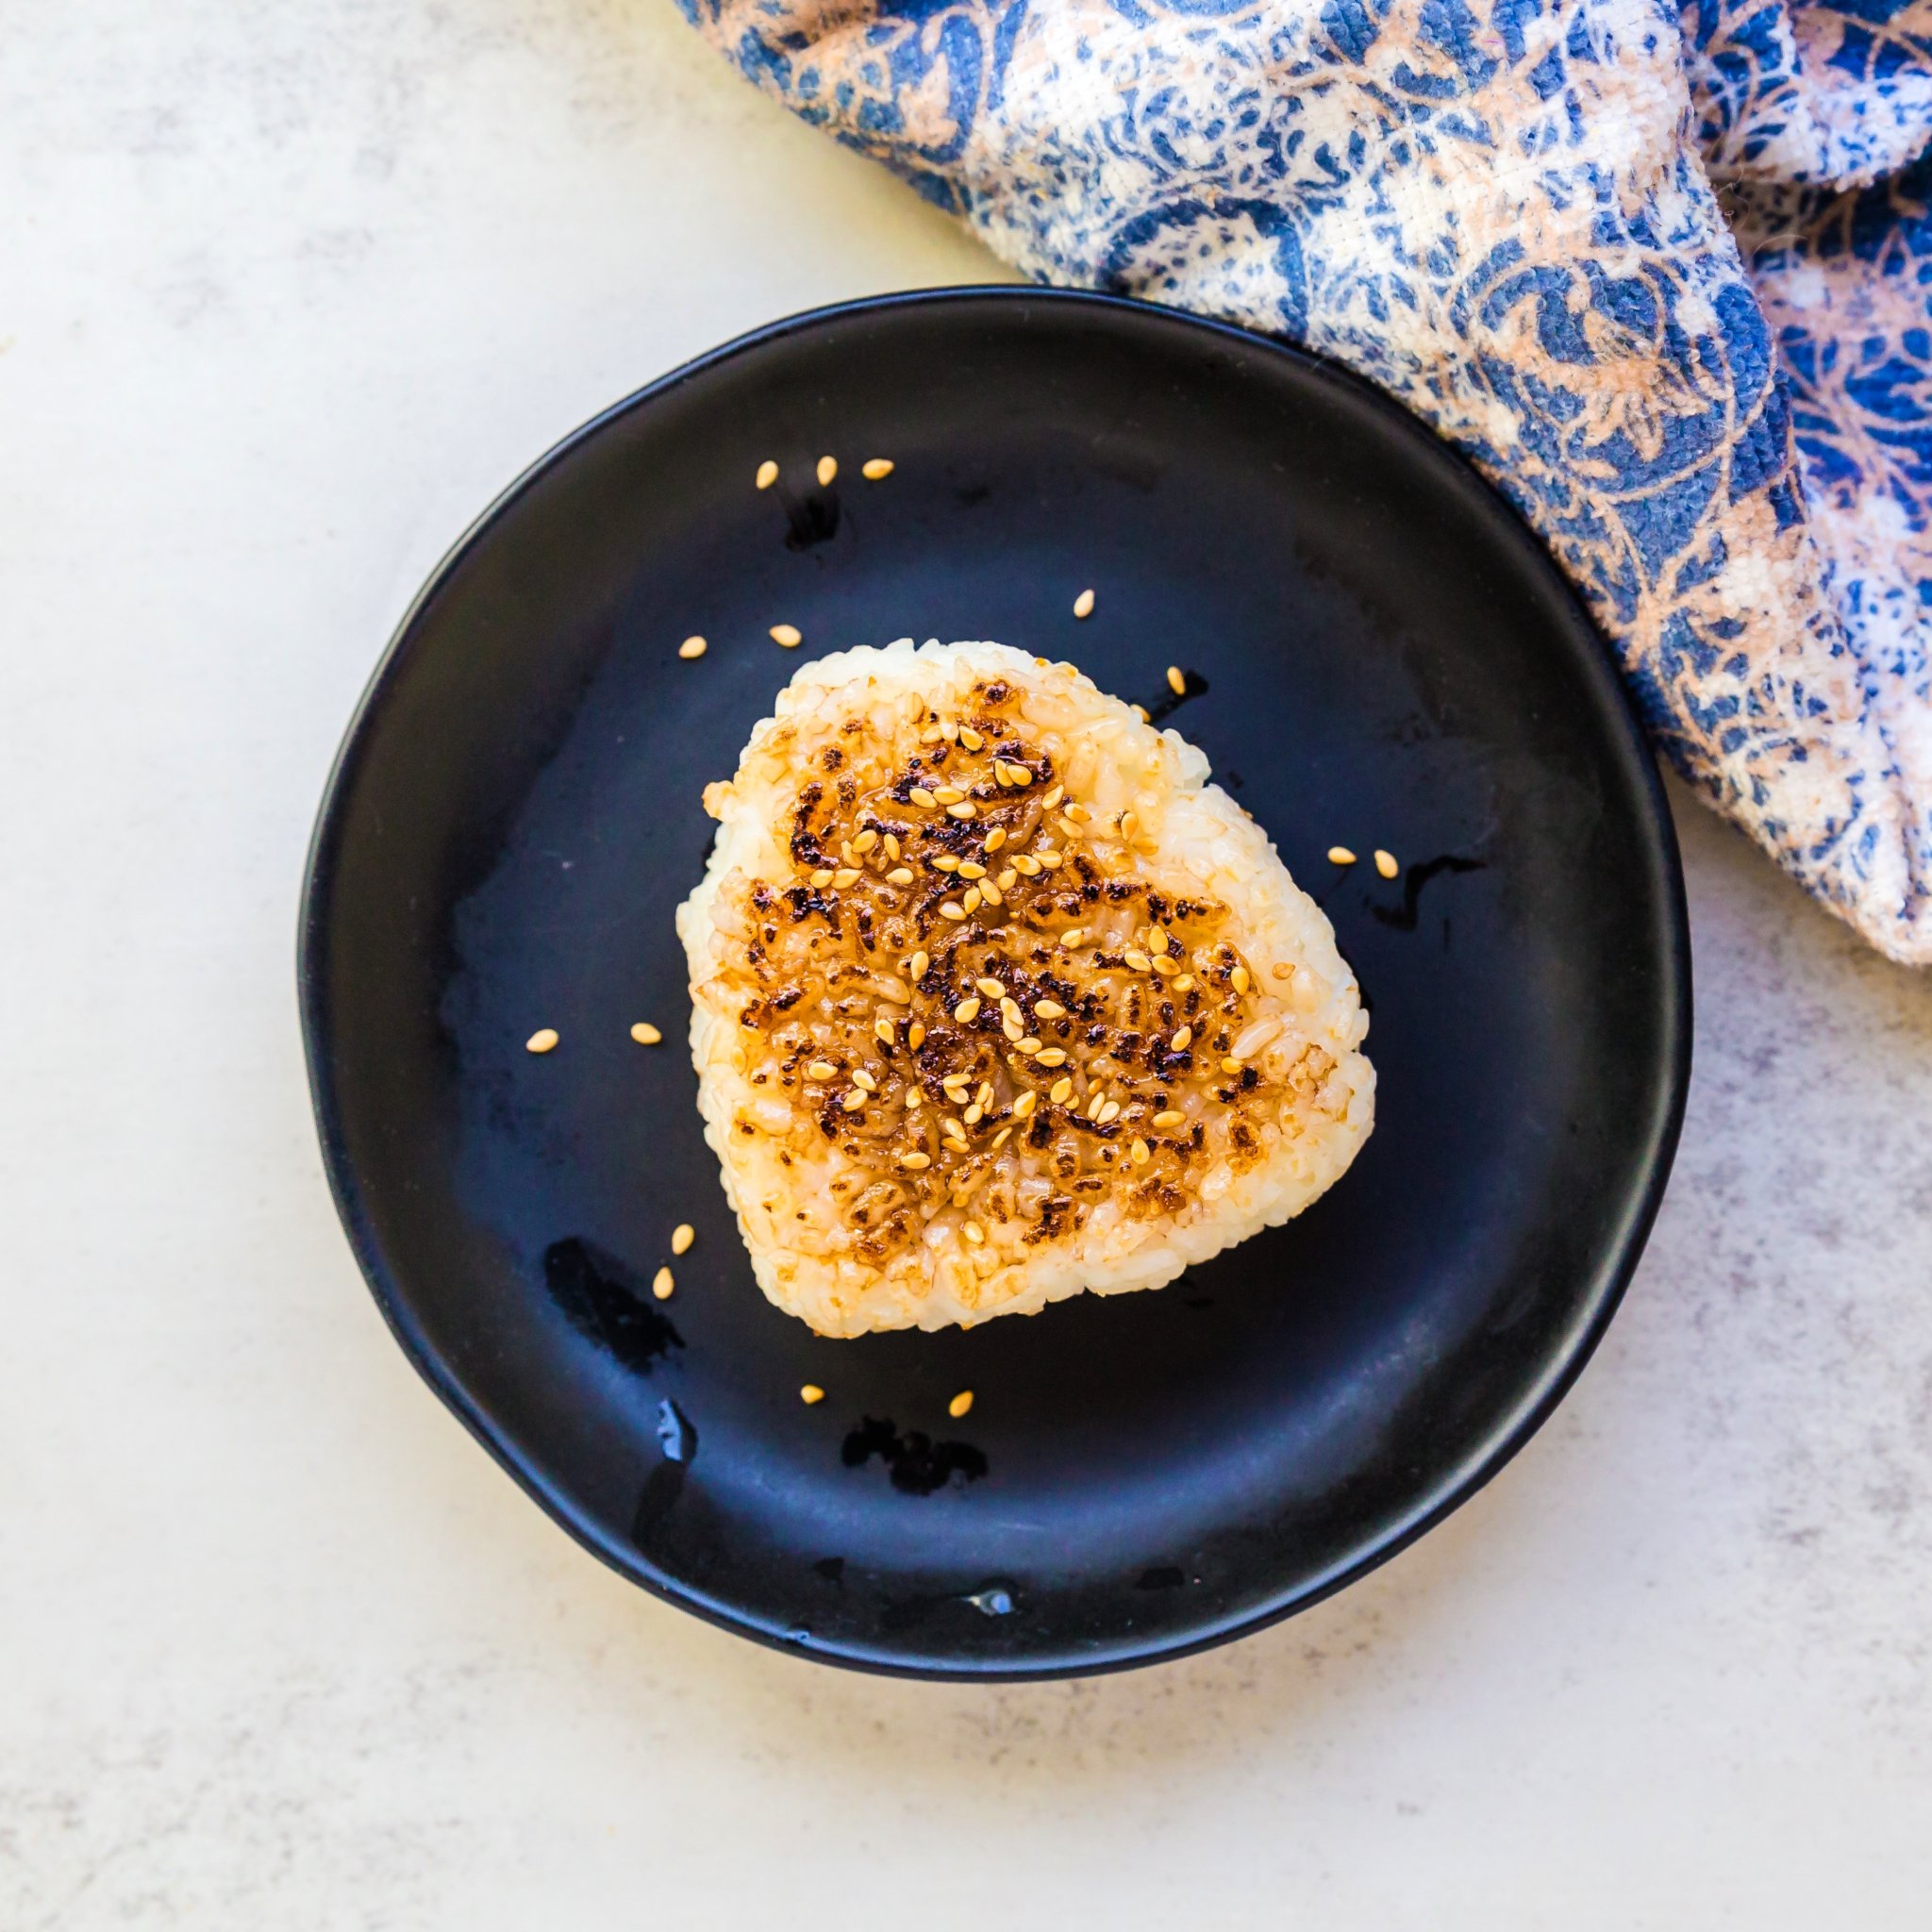
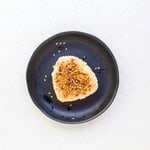
Step 3 Heat oil in a frying pan over medium heat. Once hot, add the rice ball and sear each side for 2 to 3 minutes until crispy and slightly charred.
Step 4 Brush a generous amount of the garlic soy sauce over one side, flip, and sear for 15 to 30 seconds. Repeat with the other side.
Recipe Variations
You can easily switch up this recipe by changing the flavor base while keeping the same simple technique. Instead of the soy garlic sauce, try brushing on sweetened soy sauce to make a classic Yaki Onigiri Soy Sauce Rice Ball with that familiar smoky, savory taste. For a deeper umami flavor, use miso paste on the outside to create a Miso Rice Ball that crisps beautifully in the pan.
If you want something more hearty, add seared spam in the center to turn it into my Spam Rice Balls, giving you a filling and flavorful twist that’s just as easy to prepare!
Pairing Recommendations
Garlic Soy Sauce Rice Balls can be eaten on their own, but they’re even better with the right sides. Pair them with a bowl of Miso Soup for a classic Japanese snack set, or serve them with a crisp green salad dressed in Japanese Wafu Salad Dressing or Soy Sauce Salad Dressing for a light and refreshing balance.
Frequently Asked Questions
Can I use leftover rice for this recipe?
Yes, but it’s best to reheat it slightly so it’s easier to form into balls without crumbling.
How do I keep the rice balls from falling apart?
Make sure to press and shape the rice firmly with saran wrap or a mold so it holds together before searing.
Storage Tips
This recipe is best enjoyed fresh, but if you have leftovers, store them in an airtight container in the fridge. Reheat in the microwave for 30-45 seconds to warm them up, and consume within 2-3 days.
Other Recipes You Might Like
Watch How To Make It
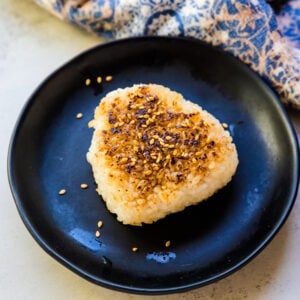
Garlic Soy Sauce Rice Balls
Ingredients
- 2 Cups Rice
- 1 tbsp Soy Sauce
- 1 tbsp Sweetener
- 1 Clove Garlic grated
- Cooking Spray Oil
Instructions
- Gather all the ingredients.

- In a small bowl, mix the soy sauce, sweetener, and grated garlic until well combined.
- Lay a sheet of plastic wrap on the counter and place 1/2 cup of rice in the center. Wrap the plastic around the rice to form a ball, pressing and rotating 5 to 7 times until it keeps its shape. You can also use a rice ball mold if you prefer. Remove from the plastic and set aside.
- Heat oil in a frying pan over medium heat. Once hot, add the rice ball and sear each side for 2 to 3 minutes until crispy and lightly charred.
- Brush a generous layer of the garlic soy sauce over one side, flip, and sear for 30 to 60 seconds. Repeat with the other side, then transfer to a plate.


Nutrition
*Values Based Per Serving

